A Step-By-Step Guide On How To Build A Stone Veneer Accent Wall

A STEP-BY-STEP GUIDE ON HOW TO BUILD A STONE VENEER ACCENT WALL
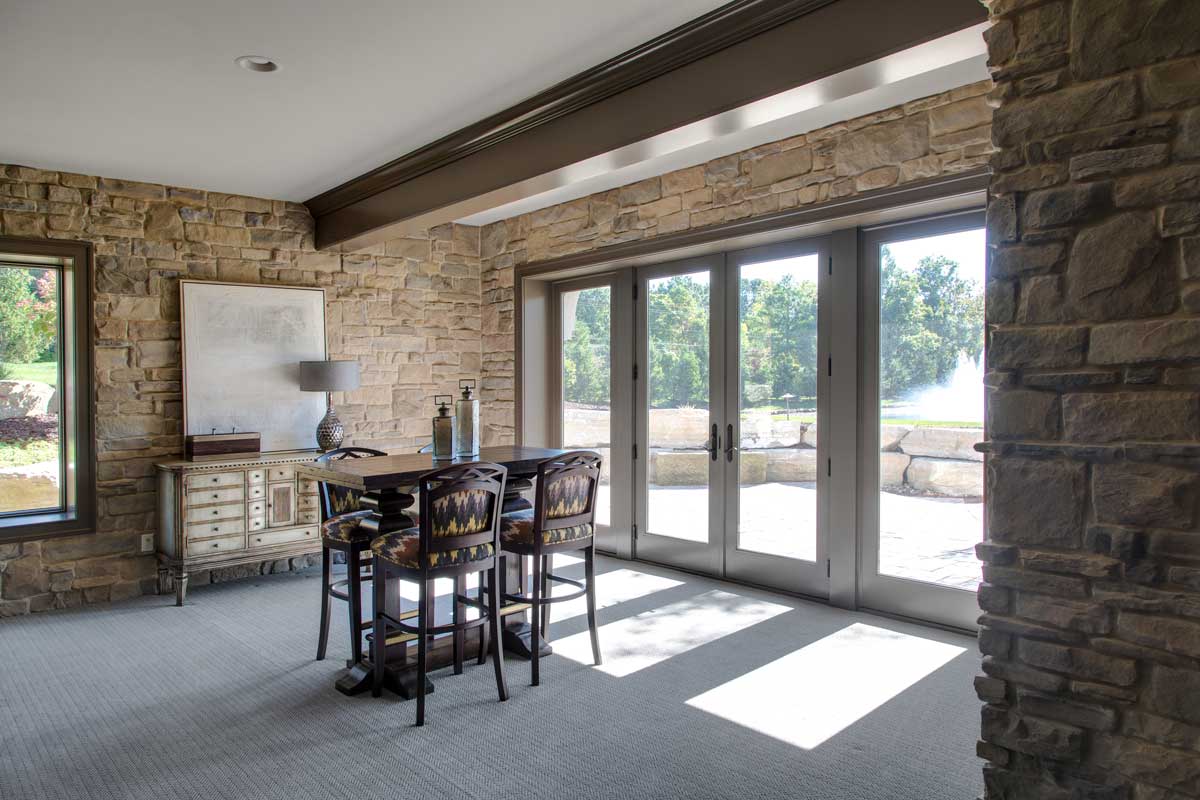
Installing a stone accent wall may seem like an intimidating project. But when you have a professional team doing the job, it’s a piece of cake! Even if you’re a pretty decent DIY-er, don’t chance it. Masonry experts can install your stone accent wall perfectly, and in practically no time at all.
If you’re curious about the steps involved in the installation process, we’re going to do a quick run-through. Plenty of homeowners want a stone accent wall in their living room, bedroom, or dining area, but they’re concerned about the renovation mess it will make, or how long it will take to complete.
If you’re on the fence about moving forward with a custom stone accent wall, hopefully you’ll see how easy it can be after reading this helpful remodeling guide.
STEP 1: ROOM PREPARATION
Preparing the room before installation day actually saves time and effort. And it makes the install process go much smoother.
The first step is moving everything out of the room. During installation, cutting the stone veneers creates a bit of dust. And it’s time consuming having to clean furniture and decor afterwards. What you can’t move out, simply cover with sheets of painter’s plastic. Cover carpeted areas with drop cloths, and protect hardwood or tile floors with thin cardboard before laying down drop cloth covers. You may also want to cover heating and cooling vents with plastic to prevent dust build-up in ductwork.
If the wall that’s intended to be covered in stone has a baseboard, chair rail, or crown molding, these will have to be gently pried off. Remove any electrical trim plates, cover outlets and switches with masking or painter’s tape, then use pliers to pull out nails left in the wall.
To create optional recessed alcoves in your stone accent wall, the installers will attach 2×4 or 2×6 wood stud framing to the existing wall before they work on the cement board installation.
STEP 2: PREP THE CEMENT BOARD
A reliable masonry team will give your wall the strongest possible base structure before applying any stone. For best results, manufactured stone veneer should be applied to cement board instead of directly onto the existing wall surface. Before installers hang the cement board base, they typically do some prep work.
Measuring the wall surface, then scoring and cutting smaller pieces of cement board to sizes that fit, makes the cement board easier to work with. Once cut, they will securely screw the cement board segments to the studs. For electrical outlet or alcove openings, the installers will precisely measure then cut those holes in the cement board before attaching to the wall.
After the cement board is in place, self-adhesive mesh tape is applied to the seams for extra reinforcement. A layer of thin-set is troweled over the tape seams and allowed to dry.
STEP 3: PREP THE STONES
Now that the base wall is ready, it’s time to start prep work for the stone installation. The contractors will measure the wall once again, then start laying stone veneer sheets onto the floor to create the wall’s design. They’ll accurately measure height and width of the laid-out stone pattern so it matches the measurements of the wall.
The installers will make chalk markings on the ends and edges of every stone veneer that needs to be cut with a wet tile saw. Getting exact stone measurements now allows for a more precise fit on the wall surface later. Accurate measuring also takes into account how level the existing wall is, and where the horizontal and vertical starting points will be when stone application begins.

STEP 4: APPLY THIN-SET & PRESS STONE ONTO WALL
Stone installation can happen after the contractors have accurately measured everything, and started cutting the first few rows or sections of veneer. Installation typically starts from the bottom rows that meet the floor, and gradually goes up to meet the ceiling.
Installers will dry-fit the first row of stone to double check fit and make any adjustments if necessary. Once it’s good-to-go, they will apply a layer of thin-set mortar
to the cement board surface, then press the veneer segments to the mortared wall. Seams between segments are less noticeable if rows are staggered, and an experienced masonry team will take this into account when working. They’ll also cut notches for outlets and alcoves, and leave room for a mantel or horizontal shelves as they move further up the wall.
Installing the top row of stone against the ceiling takes more time and effort. Extra measuring and cutting usually happens to give every piece a perfect fit.

STEP 5: GROUT
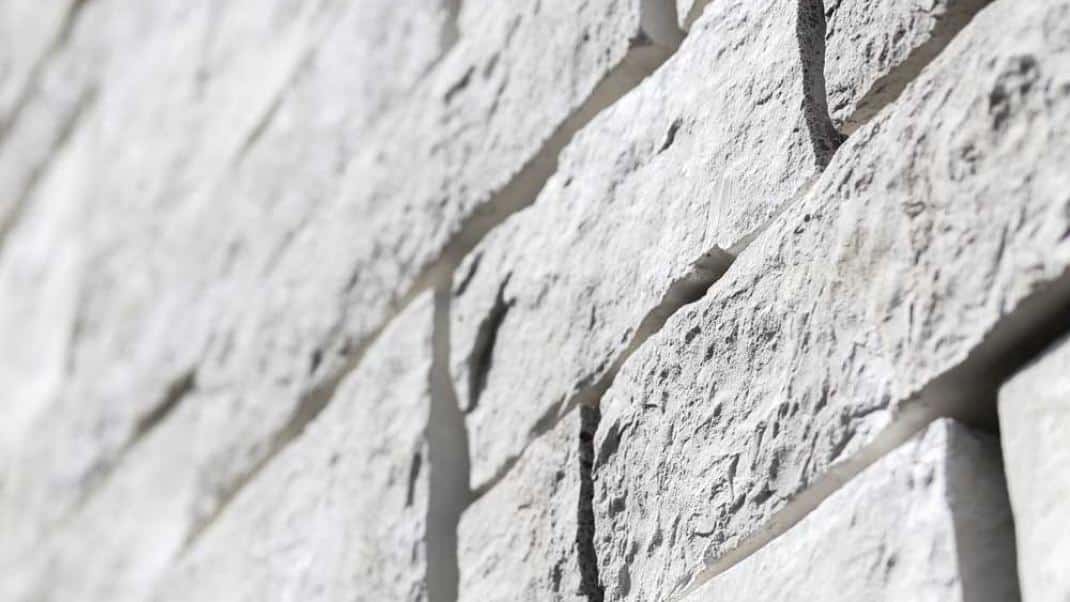
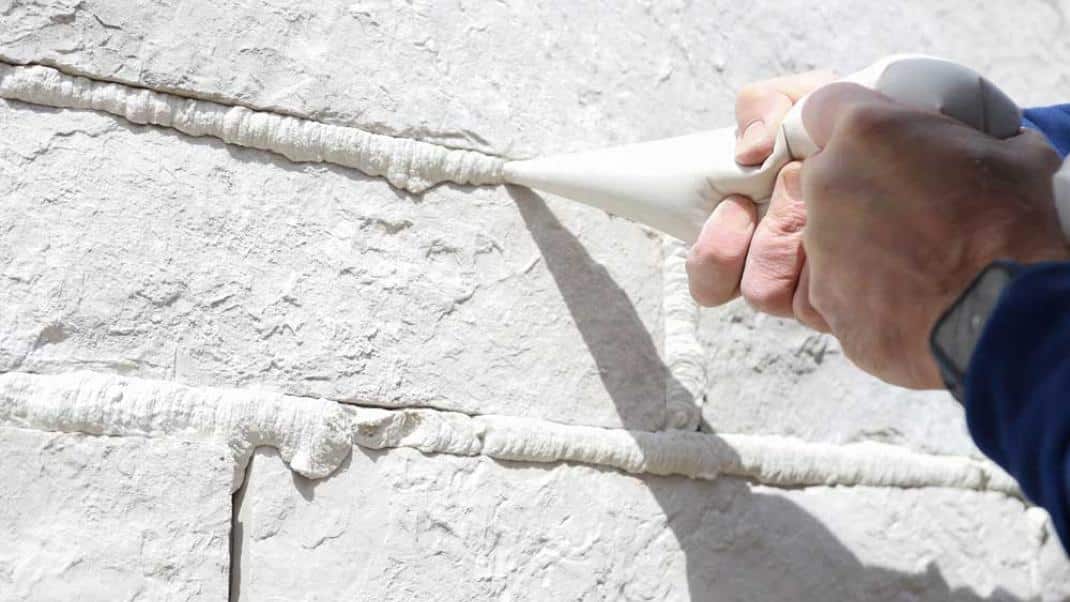
Depending on the type and style of stone, most installers will apply grout after all the veneer is in place. Grout fills in the spaces between stone sections as it enhances the overall look of your new accent wall.
After grout is mixed to the right consistency in a bucket filled with water, it’s applied to seams and cracks by hand, or with specialized tools. Allow the grout to set for about an hour, then use a sponge and water to gently wipe away any excess.
STEP 6: CARVE FLAT SPOTS IN STONE FOR COVER PLATES
Detailed cutwork around electrical outlets allows for cover plates to be put in place. Simply hold the cover plate in position over the outlet and trace around it. Use a rotary tool with a diamond wheel, or a drill fitted with a ⅛” glass-drilling bit to carefully smooth out the stone that’s going to be under the cover plate.

STEP 7: FINISHING TOUCHES
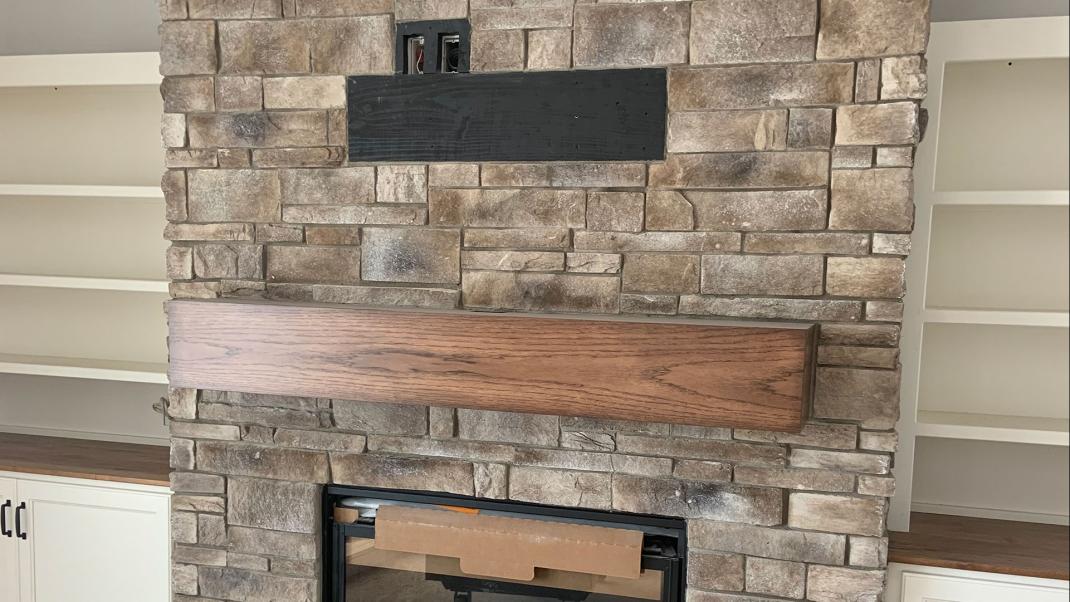
Almost done! The last few things to do are fairly simple – installing the electrical outlets, cover plates, light switches, mantels, and horizontal shelving units. The contractors can also hook up your flat-screen TV and hang it up if your new stone accent wall is an entertainment backdrop.
CASA DI SASSI
Now that you know all the steps that go into building a stone accent wall, it’s probably not as intimidating as you originally thought. Are you interested in having stone installed in your home? Casa di Sassi is a stone veneer manufacturer, specializing in beautiful veneer profiles, ranging from classic to contemporary.
And we have a nationwide network of distributors, so you can find our stone products coast to coast. And most distributors have masonry experts on-staff to do installation, or they can recommend top contractors who specialize in stone. Ready to get started? Find a Casa di Sassi distributor near you.

As we look to the future, we continually seek to innovate and grow. From pushing the limits on our creativity to developing new stone profile designs – to increasing the efficiency of our manufacturing processes – our team is dedicated to being a valuable stone veneer partner.
Recent Articles
The Environmental Impact of Natural Stone Alternatives
Over the past several years, homeowners have been thinking more and more about sustainability, and the trend isn’t slowing down. In a 2024 report, 45% of realtors said their clients showed interest in sustainability. But sustainability isn’t always straightforward,...
Simplify Stone Veneer Inventory & Delivery with Casa di Sassi
Casa di Sassi has been partnering with the best stone veneer distributors across the country since 2005. Over the years, we’ve become intimately familiar with the inventory and fulfillment issues that keep distributors up at night. Problems like overstocking, shipping...
Stone Veneer for Luxurious Home Theaters
A home theater is a fantastic luxury option for adding a different flavor of relaxation to your house. But what if you want something a little different from the typical home theater? That’s where stone veneer tiles for home theater can be useful. Using stone veneer...
